Sunday, October 26, 2014

Painting 2mm figures


Many people ask me how I paint something so small. Well, there's a few tricks but it's not quite as hard to do as you would think. The other key thing is to paint the figures much brighter than you would larger figures so that they stand out better.

Materials 

  • Plasticard (styrene) or some other mounting material such as MDF or chipboard.
  • Black primer (a matte primer is best but a satin finish is fine. I use cheap rattle can stuff).
  • 1 small paint brush with a really good tip. 
  • 1 small paint brush that no longer has a good tip for drybrushing. 
  • 2 really good lamps so that you can see what you are doing without shadows.
  • Paints (model and craft). 
  • Flock or other ground cover material.
  • Steady hands or a good desk to lean on. 

Recipe

  1. Mount the figures on some plasticard (styrene).
  2. Start by spraying the miniatures with the black primer. This provides a good background and seal for your painting.
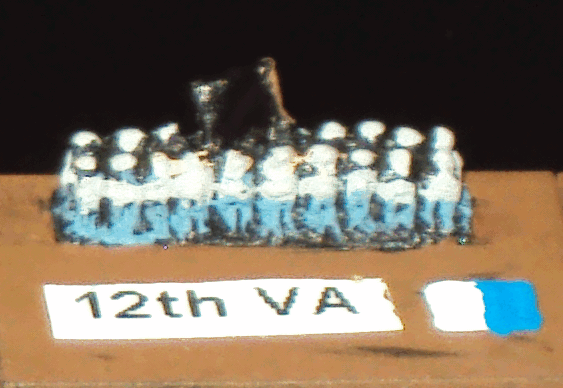
  3. Paint the plasticard brown with some craft brown paint. I use craft paint for this because it is cheap. I use the model paints for the rest because they contain a lot more pigment and have better coverage. On my plasicard, I've added a name and a colour code to indicate which brigade and division it belongs to.
  4. Using the tatty brush, dry brush the legs. If you don't know what dry brushing is, it's where you dip the brush in the paint and then wipe off most of the paint on a paper towel before you paint the figure. You don't have to be all that neat here. The only real key is to have the paint hit the legs and leave the non-leg area black.

  5. Using the tatty brush if it's not too tatty or the fine brush, paint the torso of the figures.

  6. Using the fine brush, paint the guns held by the figures. If the torso is a darkish colour, choose a lighter brown for contrast. If the torso is a lighter colour, go darker. This step is where you need more finesse and fine motor skills. I find I can get about 4 guns done per dip when the paint is fresh on the palette and less as the paint gets thicker. You'll need to clean off your brush between dips and get rid of moisture. The key is to paint thick and don't let the paint flow off the guns and onto the uniforms.
  7. I like to add hands to the guns to provide that pop of detail but it's really only worthwhile if the gun colour is on the darker side. Choose a bright and light flesh colour. I use the fine brush or sometimes I'll use planter's wire. Just dip a small dot where each hand would be. If you have too big a dot, go back with the brown colour and paint the dot smaller.
  8. Paint the face on the front and top of the heads. Not too much precision here as long as you don't get the flesh colour on the uniforms or down between the figures.
  9. Paint the top and backs of the heads with the hat colour.
  10. Paint the flag. I had to paint the flag white first because my red and blue paints are a little light in the pigment department, and on black, they go too dark. The white makes the other colours pop. I painted the red triangles first to leave the white cross. Then, counter-intuitively, I painted the blue as dots. I put enough dots that they sort of blend together with some white showing through to represent the white stars on the flag.
The whole key is to leave the impression that it's precisely painted. It really doesn't have to be. A pop of flesh colour in the general location of the face is good enough. Similarly, a couple of tiny bits of white will represent a bunch of stars on a flag. The suggestion is enough. People's minds will fill in the details for you. Here is the final result after painting the base green and flocking it:

Remember, these guys are half the size of a grain of rice. They don't need much detail to look good.

Tuesday, October 21, 2014

Gruntz from a while back

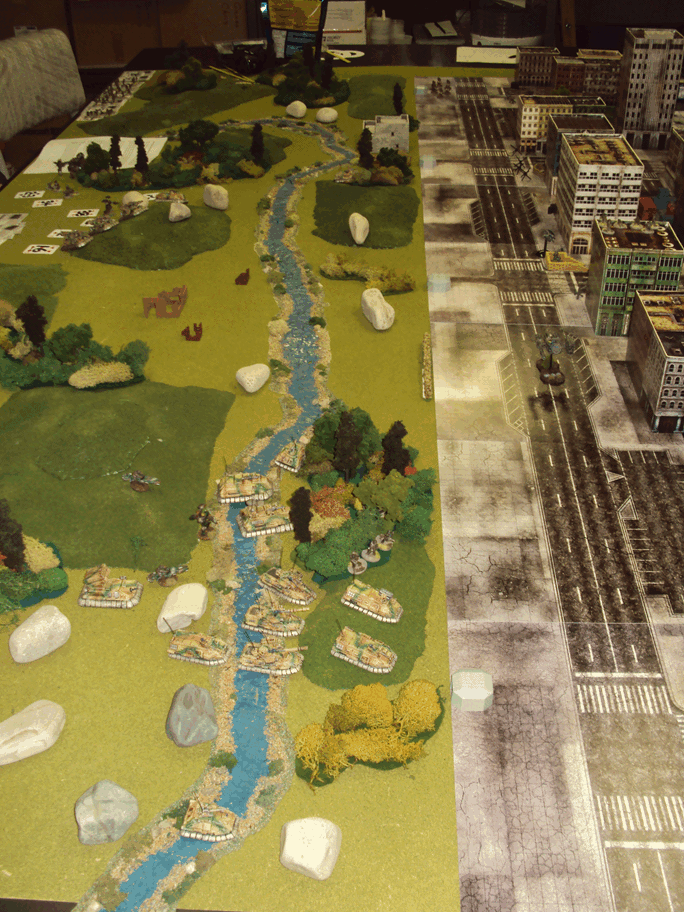
More than a while back, we had a gaming session at Stephen's place. He set up a game of Gruntz. I was on the Kraavak (whatever the spelling is) defending a recently taken over city from the humans.
I was given the task of defending the left flank. Basically, the bottom of the picture to just beyond the tall red building. I put my two infantry squads in the lower buildings along with an APC to carry them if the humans attacked the right and I needed to get them over to the other side. A plasma cannon and crew manned the checkpoint. A heavy skimmer was parked between the red building and the lower building while my heavy tank was parked in the entrance to a underground car park on the other side of the red building. My commander was in the top floor of the red building but he had a zip line to his mech ready to go so that there was no waiting for the elevator or running down the stairs.
Here come the humans. Apparently, our patrols weren't very good. However, the humans were cautious so we were given time to man our vehicles.


After an initial slow start, the humans (Justin specifically) got brave and charged forward. My lurking heavy skimmer got off two long range (and somewhat lucky) shots at a human APC. Poof. Along with the squad it was carrying.
Two human tanks zipped between the buildings to deal with my lurking APC. However, it was tipped off to the impending danger by my infantry and was ready. Two lucky shots from overwatch fire dealt with the first one. I made sure my APC got an early activation to damage the other tank and my second heavy skimmer finished it off.

Meanwhile, another human APC dropped off a squad to enter a building. My waiting squad poured into them and almost wiped them out. My first heavy skimmer put a beating on the APC.

My other squad dealt with the "medic" so that there were no resurrections happening.
The two infantry squads then combined to take out the hurt APC. The remaining APC ran for the hills while picking up the surviving infantry.

In this image, you can see the my heavy skimmers, which were untouched. My commander, though, had recklessly ventured into the open to support the infantry and was in turn heavily damaged. Had we gone another turn, I would have had him run for cover. My heavy tank had to content himself with an AA role and helped down a heavy VTOL carrier.


Friday, October 3, 2014

Progress on my 2mm ACW troops

Now that I've completed all of my 28mm Russians, I've returned to my 2mm Americans. When I last left off, I have based and painted all of the ones I had. What I hadn't got to was labeling them and flocking the bases.

I've done that now. I have completed the entire 2nd Corps of the Union army at Antietam, the Cavalry Corps, and started on the 1st Corps. Here's a shot of the 2nd Division of the 2nd Corps:

I used the trefoil symbol that the 2nd Corps used and also the colour system they used within the corps to denote the division. Red for the first division, white for the  second division, and blue for the third division. I expanded on that to surround the trefoil with a colour for the brigade.

Here I have a picture so that you can see sort of what this looks like from the front. I'm rather pleased with the result.